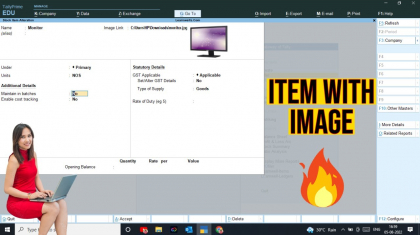
2022 Best Stock Item Image TDL | Create Item with Image TDL
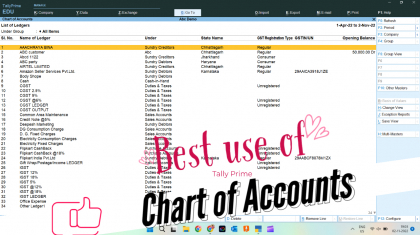
Tally Prime is the latest version of the tally software and it is equipped with various new features and enhancements. And Tally is best software for accounting and all business purpose work, because it has lots of features with this software. And i ...