

With this TDL Modify Print Option in Tally Prime. If you want to make Tally more efficiency and working fast, you must add TDL files in Tally. If want to Invoicing fast and take fast invoicing printing, you are in right place. Yes! Now we can modify print option of Tally Prime and Tally ERP9 with simple TDL code. We can add extra buttons like change copy button, change printer button and also can modify print settings of Tally. In this Free Tally TDL Code we will add logo instead of written text in print button options and also add some new buttons and modify it. This Tally TDL code also add logos in Tally EXPORT / IMPORT options.
Modify Print Option in Tally Prime:
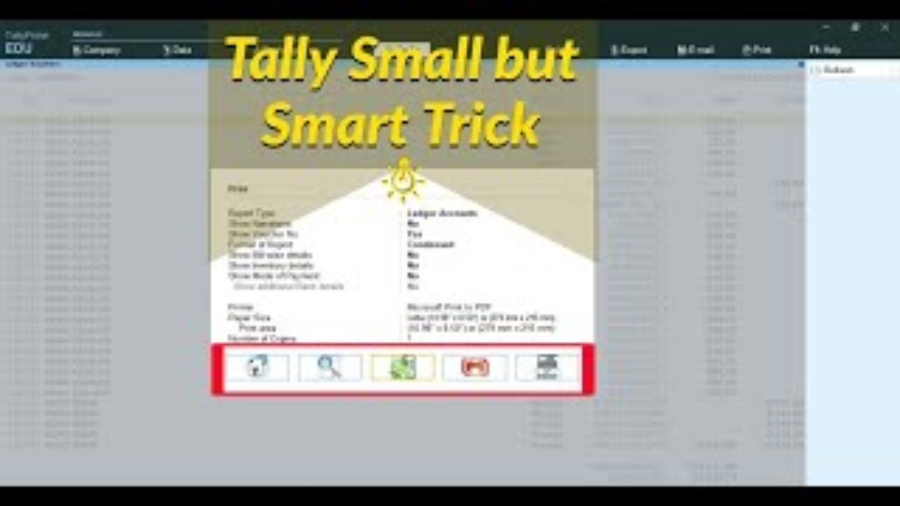
With this Free Tally TDL code we can add our own print options with logo in Tally print configuration. Print options can modify according to our need.In this Tally Prime and Tally ERP TDL code we can add some additional fields or we can remove extra fields according to our need, and this will work perfectly with Tally Erp9 and Tally Prime. Best simple tdl code to customize Printing options in Tally.
Also checkout Hide Delete Option in Tally
HOW TO USE TDL CODE IN TALLY PRIME AND IN TALLY ERP9:
1. Copy below TDL code and make a text file.
2. Save text file then load in Tally ERP9 or in Tally Prime (Method provided below the code)3. Now go to take invoice print or other reports print in Tally to see modifications.
This is best free TDL to have in your Tally . Must have TDL file for Tally ERP9 and Tally Prime that can use for lifetime.
This free TDL Code will perfectly work with Tally Prime.
Watch above video to learn :
1. How to modify Print Options of Tally
2. How to add logo and extra buttons in Tally Print.
3. And Many More…….
Free TDL Code :
[#Button: PrintExp Configure]
Image : ShowImageConfig
[Resource: ShowImageConfig]
Source :C:UsersHPDesktoplogoconfig.jpg
Resource Type : Jpeg
[#Button: PrintExp Preview]
Image : ShowImagePreview
[Resource: ShowImagePreview]
Source : C:UsersHPDesktoplogopreview.jpg
Resource Type : Jpeg
[#Button: SVPrintAction]
ActionEx : Set Var : Set : SVPreview : Yes
ActionEx : Form Accept : Form Accept
Image : ShowImagePrint
[Resource: ShowImagePrint]
Source : C:UsersHPDesktoplogoprint.jpg
Resource Type : Jpeg
[#Part: Print Buttons]
Add: Button: At End: Change Printer,Change Copies
[#Button: Change Printer]
Use : InlineButton Template Large
Title : $$LocaleString:”Printer”
Space Left : 1.25% Screen
Image : ChangePrinters
[Resource: ChangePrinters]
Source : C:UsersHPDesktoplogochangeprinter.jpg
Resource Type : Jpeg
[#Button: Change Copies]
Use : InlineButton Template Large
Title : $$LocaleString:”Copies”
Space Left : 1.25% Screen
Action : Execute : Vch Set Print Copies
Image : CopiesPrint
[Resource: CopiesPrint]
Source : C:UsersHPDesktoplogocopies.jpg
Resource Type : Jpeg
* Change source image path as per your computer in above code.
HOW TO USE ABOVE TDL CODE:
FOLLOW THE BELLOW INSTRUCTIONS TO LOAD TDL FILE IN TALLY:
1. Copy the code and paste in a Text file.
2. Save the text file into your computer.
3. Copy the text file path including Name and extension (as – C:UsersHPDesktoprecPrint.txt)
4. Open Tally ERP9 OR Tally Prime
5a. Press F12 and goto Product and Features (for Tally ERP9)
2. Save the text file into your computer.
3. Copy the text file path including Name and extension (as – C:UsersHPDesktoprecPrint.txt)
4. Open Tally ERP9 OR Tally Prime
5a. Press F12 and goto Product and Features (for Tally ERP9)
5b. Click on Help and click on TDL & Addon (for Tally Prime)
5. Press F4 (to open a Box)
6. Load TDL file on Startup – Yes
7. Paste The path in blank space
8. Press enter and save
6. Load TDL file on Startup – Yes
7. Paste The path in blank space
8. Press enter and save

Now your TDL is ready to use.
SETUP PRINTER VOUCHER WISE IN TALLY PRIME CAN IT BE DONE
Sir
is it not applicable for tally 6.3
we dont have tally prime
thanks