


With Tally ODBC Port (Open Database Connectivity(ODBC) we can dynamically exchange data between Tally Prime/Tally.ERP 9 and any other application dynamically.
When we enable Tally ODBC a DSN file will be created in our computer document folder.

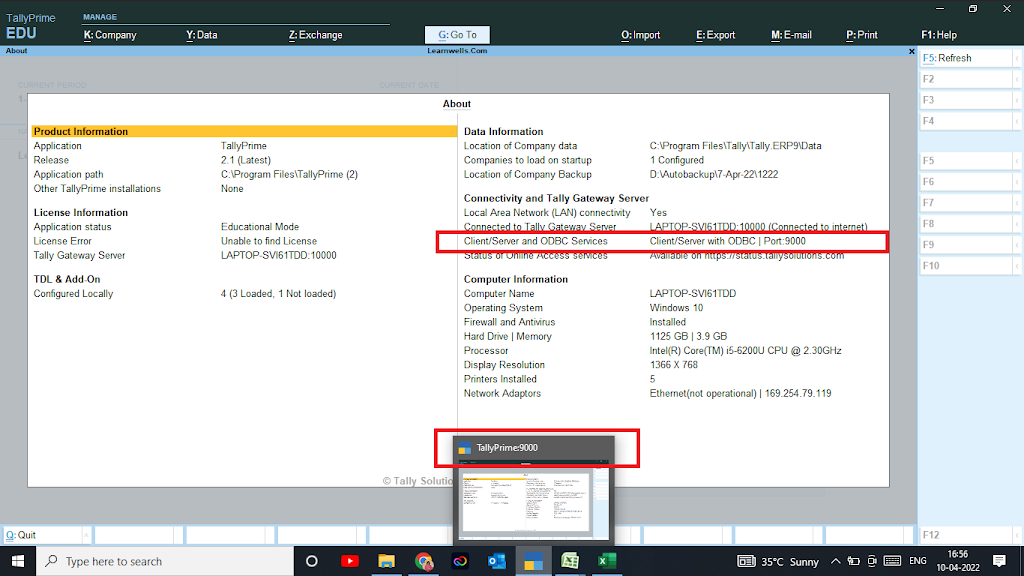
Tally ODBC Port:
How to Enable ODBC in Tally Prime:
1. Open Tally Prime
2. Go to Tally Prime Help – Setting – Connectivity

3. Press Enter on List of Configuration
4. Set Tally Prime act as – Both
5. Enable ODBC – Yes
6. Set ODBC Port Number 9000 or any other number as per your requirement.
7. Press Enter to Save changes
8. Tally will ask to Restart to affect changes
9. Press Yes to restart Tally Prime
10. ODBC will be enabled.
11. Check About section in TallyPrime Help to see ODBC connectivity or move cursor on TallyPrime logo in status bar.
How to Enable ODBC in Tally ERP9:
1. Open Tally ERP9
2. Press F12 from Gateway of Tally (Tally Main Screen)
3. Goto Advance Configuration

3. Change Tally ERP9 acting as – Both
4. Enable ODBC server – Yes
5. Set ODBC port Number 9000 or any other number as per requirement
6. After change press CTRL+A to save changes
7. Tally will ask to restart for changes have effect – Press Yes

8. Now Tally will be restart with ODBC Port Number
