

Registers with Batch and Godown details | Best Free TDL Code 2021
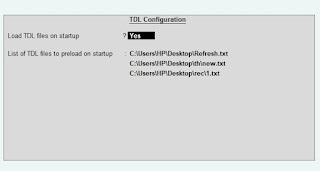
With this amazing free TDL code we can get columnar registers ( like Sales Register, Purchase Register, Stock Journal and Manufacturing Journal register that content stock Items ) with there item batches and item godowns. So now you can get repo ...